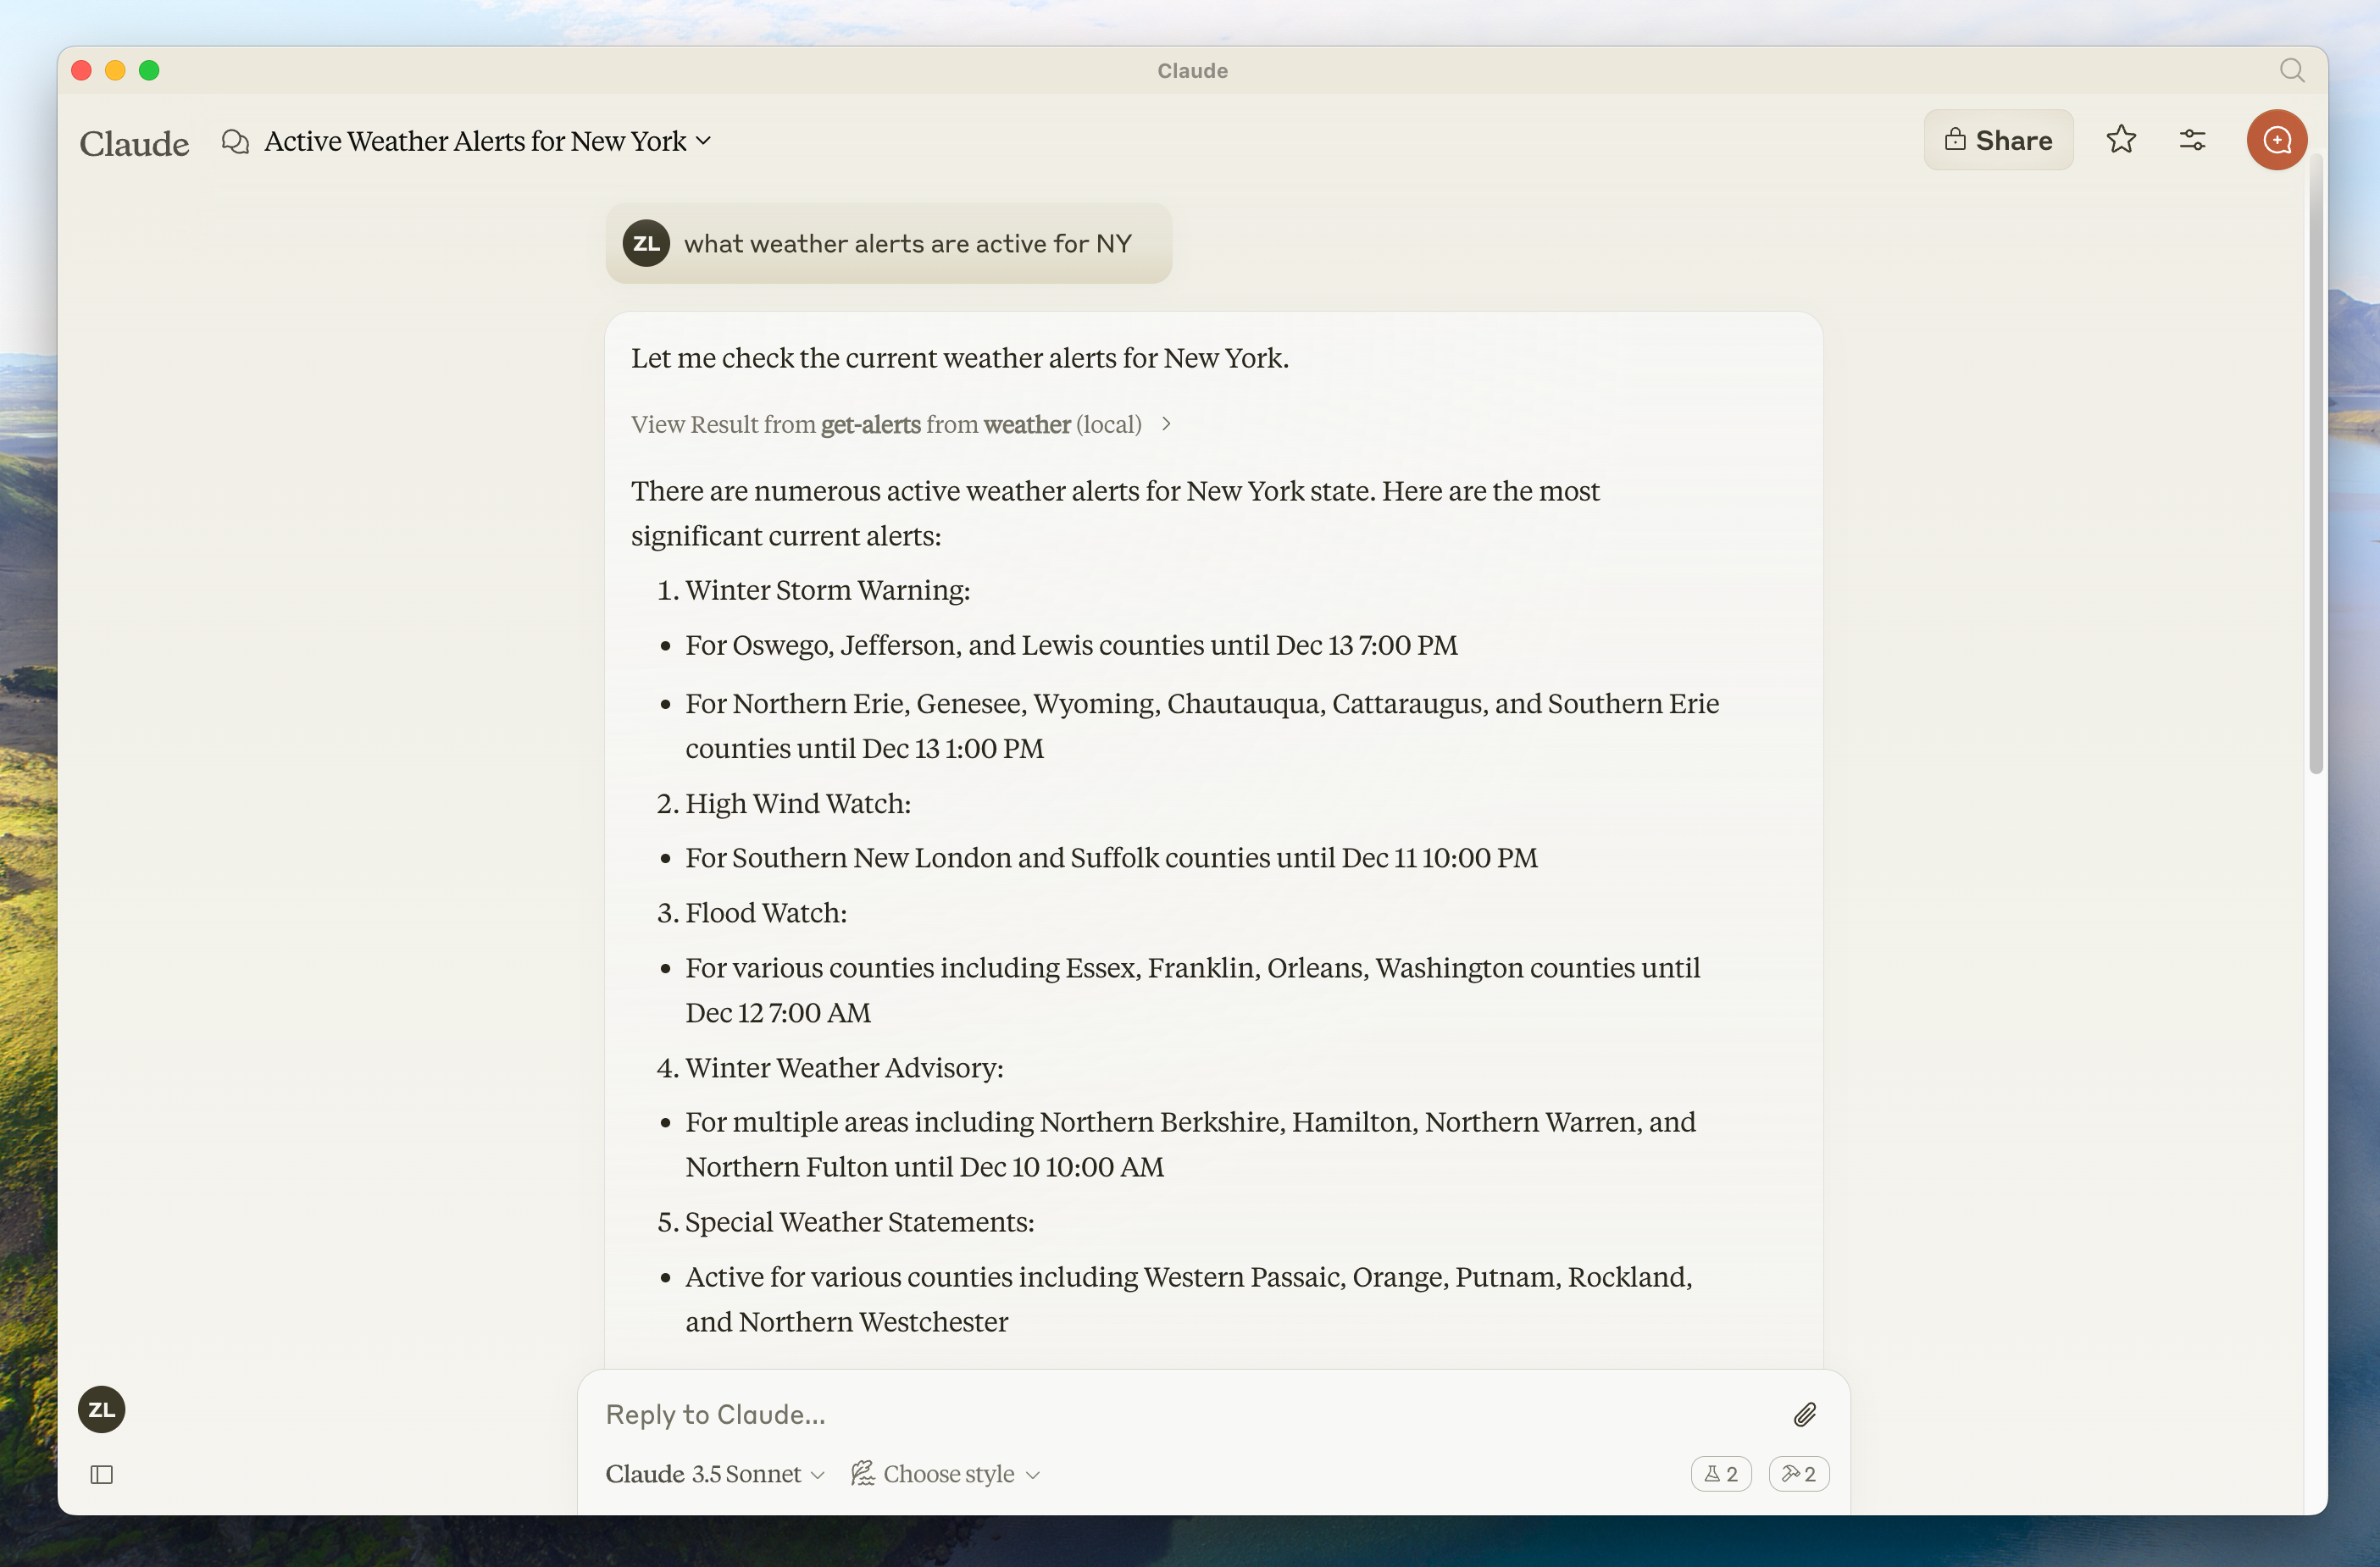
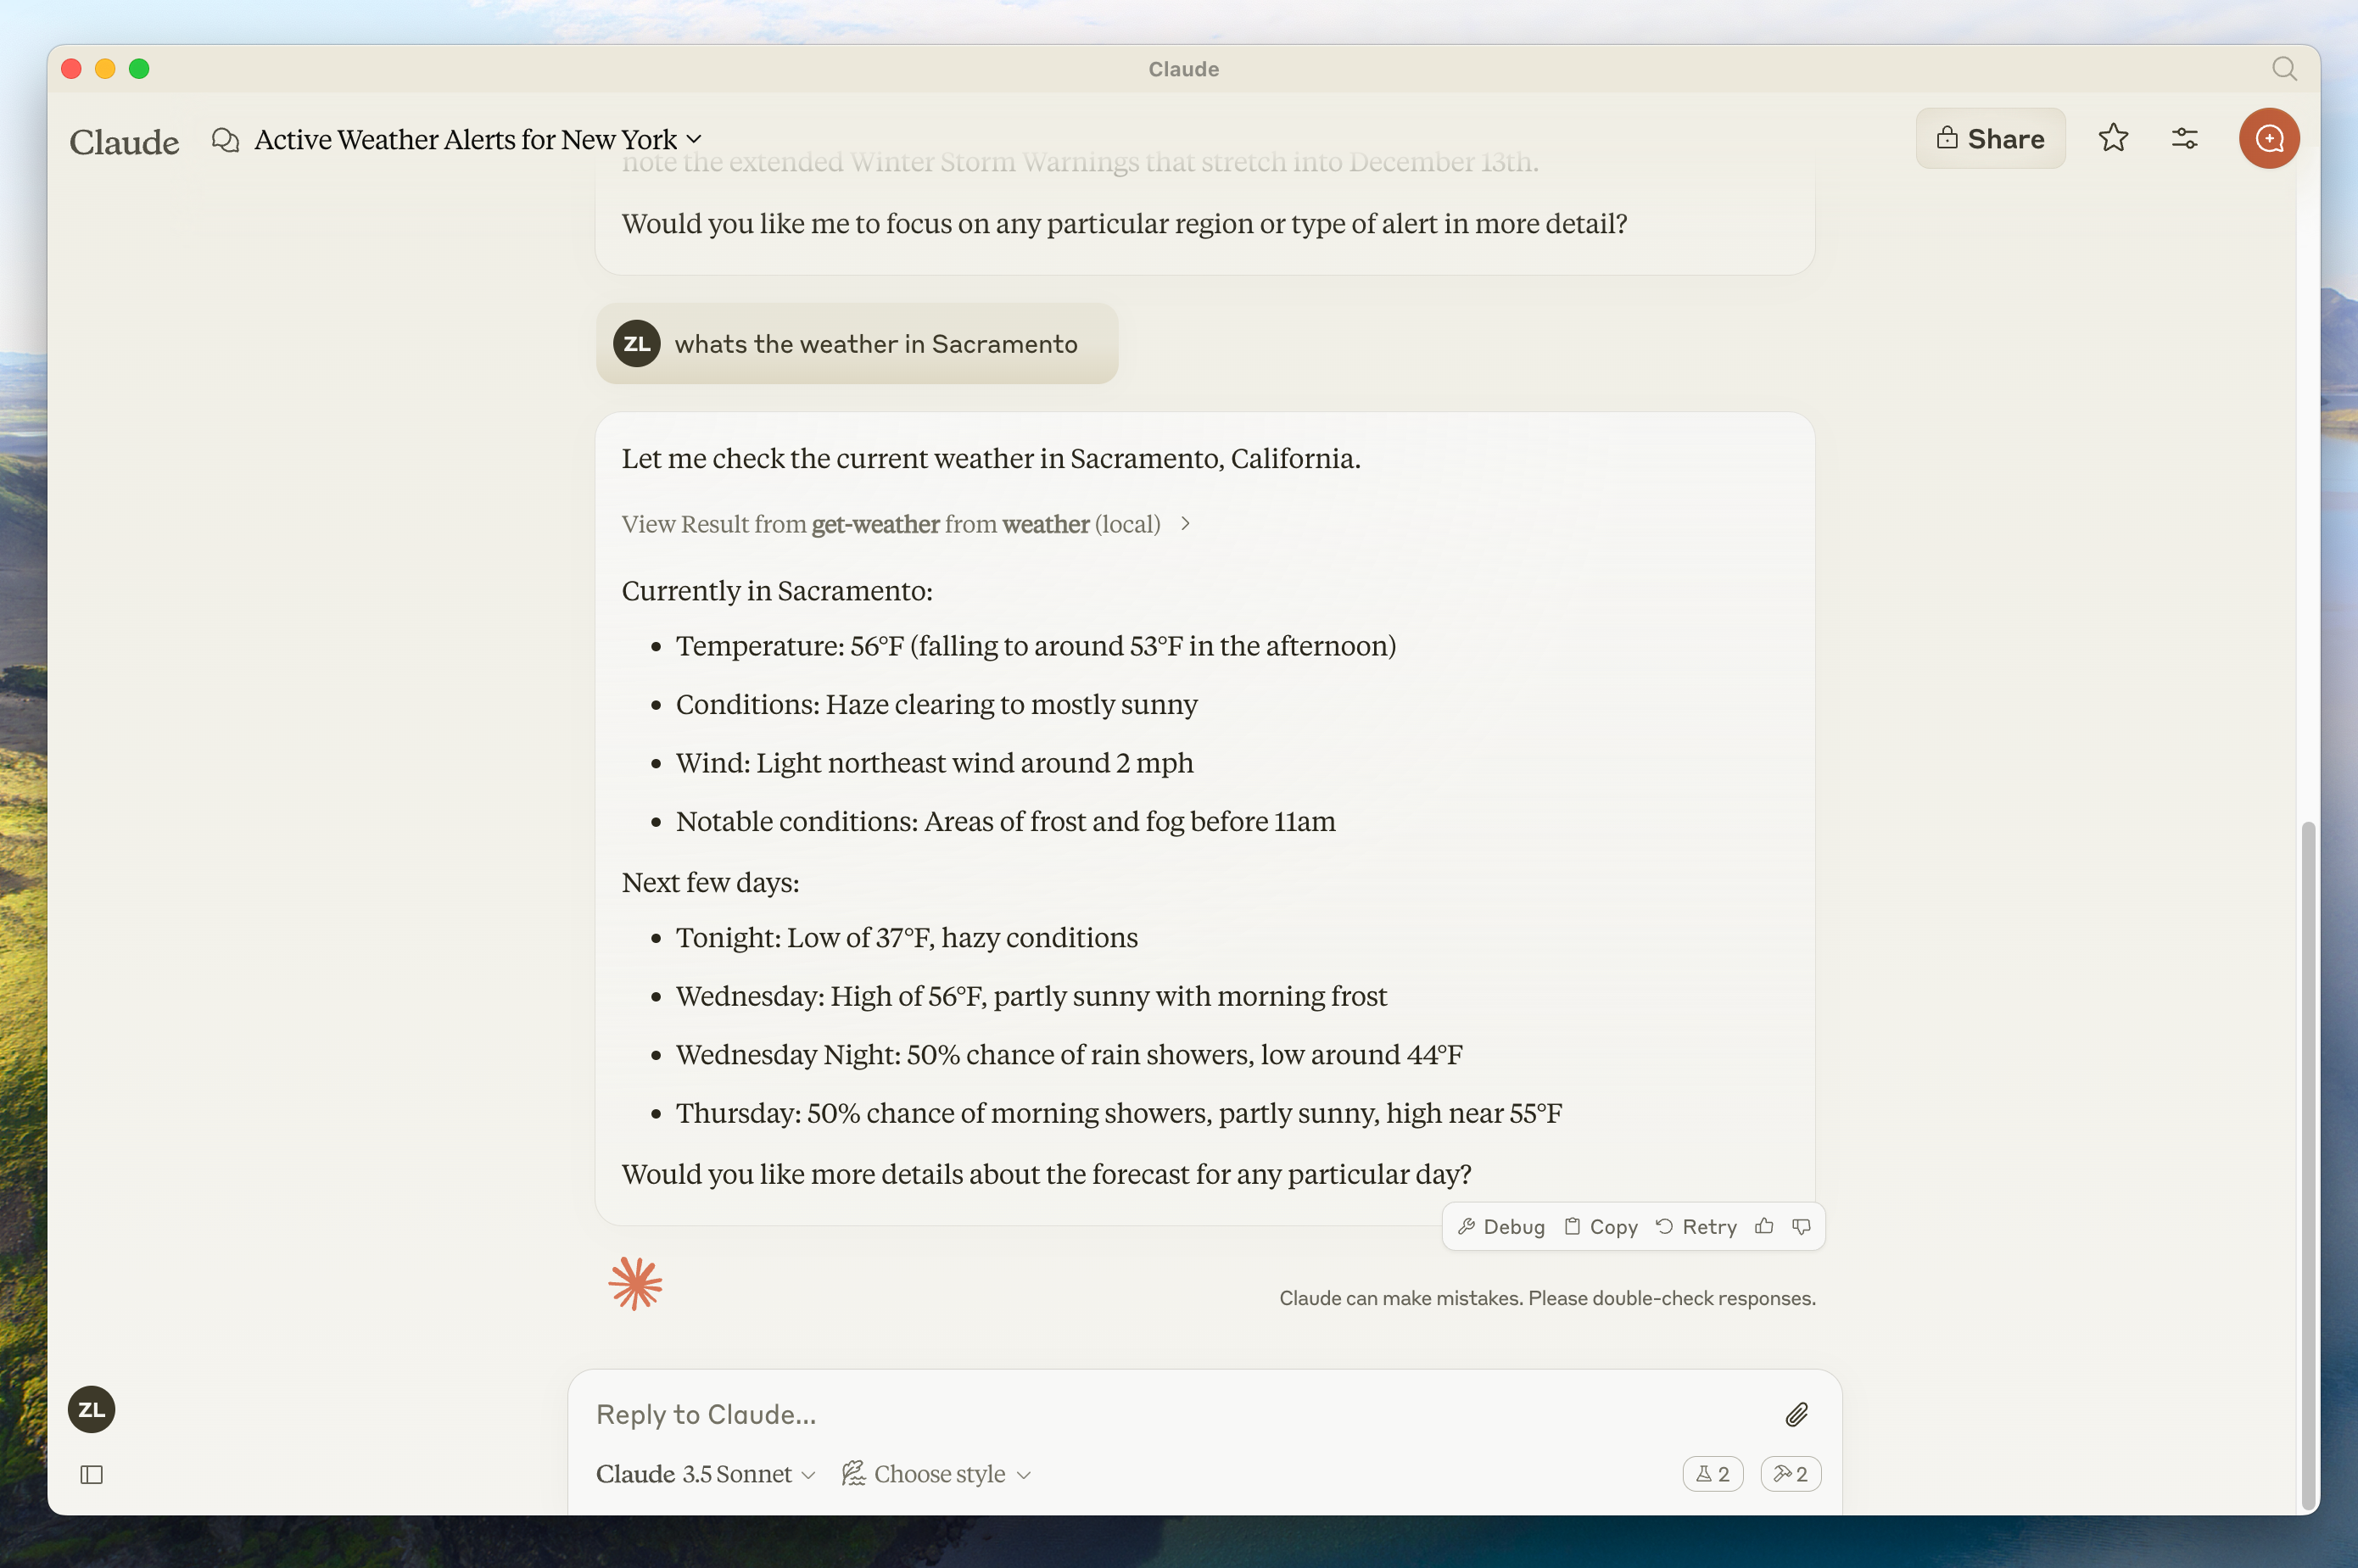
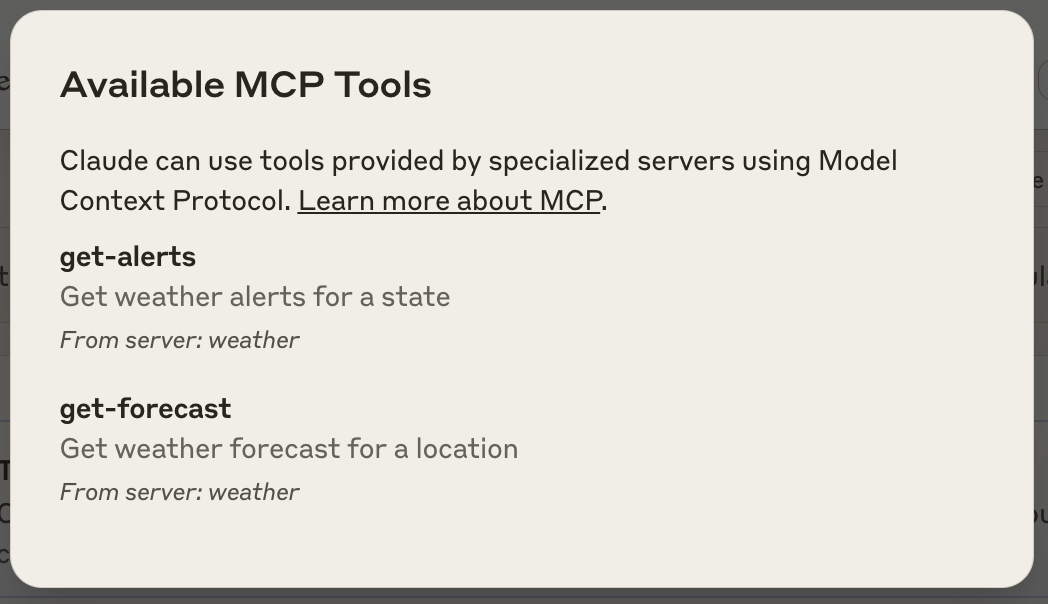
让我们开始构建我们的天气服务器!您可以在此处找到我们将构建的完整代码。
先决知识 本快速入门假设您熟悉:
系统要求
已安装 Python 3.10 或更高版本。
您必须使用 Python MCP SDK 1.2.0 或更高版本。
设置您的环境 首先,让我们安装 uv
并设置我们的 Python 项目和环境:
安装完成后,请重新启动终端以确保 uv
命令生效。
现在,让我们创建并设置我们的项目:
现在让我们深入构建您的服务器。
构建您的服务器 导入包并设置实例 将这些内容添加到 weather.py
的顶部:
from typing import Any
import httpx
from mcp.server.fastmcp import FastMCP
# 初始化 FastMCP 服务器
mcp = FastMCP( "weather" )
# 常量
NWS_API_BASE = "https://api.weather.gov"
USER_AGENT = "weather-app/1.0"
FastMCP 类使用 Python 类型提示和文档字符串自动生成工具定义,使得创建和维护 MCP 工具变得容易。
辅助函数 接下来,让我们添加用于查询和格式化国家气象局 API 数据的辅助函数:
async def make_nws_request ( url : str ) -> dict[ str , Any] | None :
"""向 NWS API 发出请求并进行适当的错误处理。"""
headers = {
"User-Agent" : USER_AGENT ,
"Accept" : "application/geo+json"
}
async with httpx.AsyncClient() as client:
try :
response = await client.get(url, headers = headers, timeout = 30.0 )
response.raise_for_status()
return response.json()
except Exception :
return None
def format_alert ( feature : dict ) -> str :
"""将警报特征格式化为可读字符串。"""
props = feature[ "properties" ]
return f """
事件: { props.get( 'event' , 'Unknown' ) }
区域: { props.get( 'areaDesc' , 'Unknown' ) }
严重程度: { props.get( 'severity' , 'Unknown' ) }
描述: { props.get( 'description' , '无描述' ) }
说明: { props.get( 'instruction' , '无具体说明' ) }
"""
实现工具执行 工具执行处理程序负责实际执行每个工具的逻辑。让我们添加它:
@mcp.tool ()
async def get_alerts ( state : str ) -> str :
"""获取美国某个州的天气警报。
参数:
state: 两个字母的美国州代码(例如 CA, NY)
"""
url = f " { NWS_API_BASE } /alerts/active/area/ { state } "
data = await make_nws_request(url)
if not data or "features" not in data:
return "无法获取警报或未找到警报。"
if not data[ "features" ]:
return "该州没有活跃的警报。"
alerts = [format_alert(feature) for feature in data[ "features" ]]
return " \n --- \n " .join(alerts)
@mcp.tool ()
async def get_forecast ( latitude : float , longitude : float ) -> str :
"""获取某个位置的天气预报。
参数:
latitude: 位置的纬度
longitude: 位置的经度
"""
# 首先获取预测网格端点
points_url = f " { NWS_API_BASE } /points/ { latitude } , { longitude } "
points_data = await make_nws_request(points_url)
if not points_data:
return "无法获取该位置的预测数据。"
# 从 points 响应中获取预测 URL
forecast_url = points_data[ "properties" ][ "forecast" ]
forecast_data = await make_nws_request(forecast_url)
if not forecast_data:
return "无法获取详细的预测。"
# 将周期格式化为可读的预测
periods = forecast_data[ "properties" ][ "periods" ]
forecasts = []
for period in periods[: 5 ]: # 仅显示接下来的 5 个周期
forecast = f """
{ period[ 'name' ] } :
温度: { period[ 'temperature' ] } ° { period[ 'temperatureUnit' ] }
风速: { period[ 'windSpeed' ] } { period[ 'windDirection' ] }
预测: { period[ 'detailedForecast' ] }
"""
forecasts.append(forecast)
return " \n --- \n " .join(forecasts)
运行服务器 最后,让我们初始化并运行服务器:
if __name__ == "__main__" :
# 初始化并运行服务器
mcp.run( transport = 'stdio' )
您的服务器已完成!运行 uv run weather.py
以确认一切正常。
现在让我们在现有的 MCP 主机 Claude for Desktop 中测试您的服务器。
使用 Claude for Desktop 测试您的服务器 Claude for Desktop 尚未在 Linux 上可用。Linux 用户可以继续学习构建客户端 教程,以构建连接到我们刚刚构建的服务器的 MCP 客户端。
首先,确保您已安装 Claude for Desktop。您可以在此处安装最新版本。 如果您已经安装了 Claude for Desktop,请确保它已更新到最新版本。
我们需要为要使用的 MCP 服务器配置 Claude for Desktop。为此,请在文本编辑器中打开位于 ~/Library/Application Support/Claude/claude_desktop_config.json
的 Claude for Desktop 应用程序配置。如果文件不存在,请创建它。
例如,如果您安装了 VS Code :
code ~/Library/Application \ Support/Claude/claude_desktop_config.json
code $env:AppData\Claude\claude_desktop_config.json
然后,您将在 mcpServers
键中添加您的服务器。只有在至少正确配置了一个服务器时,MCP UI 元素才会出现在 Claude for Desktop 中。
在本例中,我们将添加我们的单个天气服务器,如下所示:
{
"mcpServers" : {
"weather" : {
"command" : "uv" ,
"args" : [
"--directory" ,
"/ABSOLUTE/PATH/TO/PARENT/FOLDER/weather" ,
"run" ,
"weather.py"
]
}
}
}
{
"mcpServers" : {
"weather" : {
"command" : "uv" ,
"args" : [
"--directory" ,
"/ABSOLUTE/PATH/TO/PARENT/FOLDER/weather" ,
"run" ,
"weather.py"
]
}
}
}
{
"mcpServers" : {
"weather" : {
"command" : "uv" ,
"args" : [
"--directory" ,
"C: \\ ABSOLUTE \\ PATH \\ TO \\ PARENT \\ FOLDER \\ weather" ,
"run" ,
"weather.py"
]
}
}
}
您可能需要在 command
字段中提供 uv
可执行文件的完整路径。您可以通过在 MacOS/Linux 上运行 which uv
或在 Windows 上运行 where uv
来获取此路径。
这告诉 Claude for Desktop:
有一个名为 “weather” 的 MCP 服务器
通过运行 uv --directory /ABSOLUTE/PATH/TO/PARENT/FOLDER/weather run weather.py
来启动它
保存文件,然后重新启动 Claude for Desktop 。
让我们开始构建我们的天气服务器!您可以在此处找到我们将构建的完整代码。
先决知识 本快速入门假设您熟悉:
TypeScript
像 Claude 这样的 LLM
系统要求 对于 TypeScript,请确保您已安装最新版本的 Node。
设置您的环境 首先,如果尚未安装,请安装 Node.js 和 npm。您可以从 nodejs.org 下载它们。
验证您的 Node.js 安装:
node --version
npm --version
对于本教程,您需要 Node.js 版本 16 或更高版本。
现在,让我们创建并设置我们的项目:
更新您的 package.json 以添加 type: “module” 和构建脚本:
{
"type" : "module" ,
"bin" : {
"weather" : "./build/index.js"
},
"scripts" : {
"build" : "tsc && chmod 755 build/index.js"
},
"files" : [
"build"
],
}
在项目的根目录中创建 tsconfig.json
:
{
"compilerOptions" : {
"target" : "ES2022" ,
"module" : "Node16" ,
"moduleResolution" : "Node16" ,
"outDir" : "./build" ,
"rootDir" : "./src" ,
"strict" : true ,
"esModuleInterop" : true ,
"skipLibCheck" : true ,
"forceConsistentCasingInFileNames" : true
},
"include" : [ "src/**/*" ],
"exclude" : [ "node_modules" ]
}
现在让我们深入构建您的服务器。
构建您的服务器 导入包并设置实例 将这些内容添加到 src/index.ts
的顶部:
import { McpServer } from "@modelcontextprotocol/sdk/server/mcp.js" ;
import { StdioServerTransport } from "@modelcontextprotocol/sdk/server/stdio.js" ;
import { z } from "zod" ;
const NWS_API_BASE = "https://api.weather.gov" ;
const USER_AGENT = "weather-app/1.0" ;
// 创建服务器实例
const server = new McpServer ({
name: "weather" ,
version: "1.0.0" ,
});
辅助函数 接下来,让我们添加用于查询和格式化国家气象局 API 数据的辅助函数:
// 用于向 NWS API 发出请求的辅助函数
async function makeNWSRequest < T >( url : string ) : Promise < T | null > {
const headers = {
"User-Agent" : USER_AGENT ,
Accept: "application/geo+json" ,
};
try {
const response = await fetch ( url , { headers });
if ( ! response . ok ) {
throw new Error ( `HTTP 错误!状态: ${ response . status } ` );
}
return ( await response . json ()) as T ;
} catch ( error ) {
console . error ( "向 NWS 发出请求时出错:" , error );
return null ;
}
}
interface AlertFeature {
properties : {
event ?: string ;
areaDesc ?: string ;
severity ?: string ;
status ?: string ;
headline ?: string ;
};
}
// 格式化警报数据
function formatAlert ( feature : AlertFeature ) : string {
const props = feature . properties ;
return [
`事件: ${ props . event || "未知" } ` ,
`区域: ${ props . areaDesc || "未知" } ` ,
`严重程度: ${ props . severity || "未知" } ` ,
`状态: ${ props . status || "未知" } ` ,
`标题: ${ props . headline || "无标题" } ` ,
"---" ,
]. join ( " \n " );
}
interface ForecastPeriod {
name ?: string ;
temperature ?: number ;
temperatureUnit ?: string ;
windSpeed ?: string ;
windDirection ?: string ;
shortForecast ?: string ;
}
interface AlertsResponse {
features : AlertFeature [];
}
interface PointsResponse {
properties : {
forecast ?: string ;
};
}
interface ForecastResponse {
properties : {
periods : ForecastPeriod [];
};
}
实现工具执行 工具执行处理程序负责实际执行每个工具的逻辑。让我们添加它:
// 注册天气工具
server . tool (
"get-alerts" ,
"获取某个州的天气警报" ,
{
state: z . string (). length ( 2 ). describe ( "两个字母的州代码(例如 CA, NY)" ),
},
async ({ state }) => {
const stateCode = state . toUpperCase ();
const alertsUrl = ` ${ NWS_API_BASE } /alerts?area= ${ stateCode } ` ;
const alertsData = await makeNWSRequest < AlertsResponse >( alertsUrl );
if ( ! alertsData ) {
return {
content: [
{
type: "text" ,
text: "无法获取警报数据" ,
},
],
};
}
const features = alertsData . features || [];
if ( features . length === 0 ) {
return {
content: [
{
type: "text" ,
text: ` ${ stateCode } 没有活跃的警报` ,
},
],
};
}
const formattedAlerts = features . map ( formatAlert );
const alertsText = ` ${ stateCode } 的活跃警报: \n\n ${ formattedAlerts . join ( " \n " ) } ` ;
return {
content: [
{
type: "text" ,
text: alertsText ,
},
],
};
},
);
server . tool (
"get-forecast" ,
"获取某个位置的天气预报" ,
{
latitude: z . number (). min ( - 90 ). max ( 90 ). describe ( "位置的纬度" ),
longitude: z . number (). min ( - 180 ). max ( 180 ). describe ( "位置的经度" ),
},
async ({ latitude , longitude }) => {
// 获取网格点数据
const pointsUrl = ` ${ NWS_API_BASE } /points/ ${ latitude . toFixed ( 4 ) } , ${ longitude . toFixed ( 4 ) } ` ;
const pointsData = await makeNWSRequest < PointsResponse >( pointsUrl );
if ( ! pointsData ) {
return {
content: [
{
type: "text" ,
text: `无法获取坐标: ${ latitude } , ${ longitude } 的网格点数据。该位置可能不受 NWS API 支持(仅支持美国位置)。` ,
},
],
};
}
const forecastUrl = pointsData . properties ?. forecast ;
if ( ! forecastUrl ) {
return {
content: [
{
type: "text" ,
text: "无法从网格点数据获取预测 URL" ,
},
],
};
}
// 获取预测数据
const forecastData = await makeNWSRequest < ForecastResponse >( forecastUrl );
if ( ! forecastData ) {
return {
content: [
{
type: "text" ,
text: "无法获取预测数据" ,
},
],
};
}
const periods = forecastData . properties ?. periods || [];
if ( periods . length === 0 ) {
return {
content: [
{
type: "text" ,
text: "无预测周期可用" ,
},
],
};
}
// 格式化预测周期
const formattedForecast = periods . map (( period : ForecastPeriod ) =>
[
` ${ period . name || "未知" } :` ,
`温度: ${ period . temperature || "未知" } ° ${ period . temperatureUnit || "F" } ` ,
`风速: ${ period . windSpeed || "未知" } ${ period . windDirection || "" } ` ,
` ${ period . shortForecast || "无预测可用" } ` ,
"---" ,
]. join ( " \n " ),
);
const forecastText = ` ${ latitude } , ${ longitude } 的天气预报: \n\n ${ formattedForecast . join ( " \n " ) } ` ;
return {
content: [
{
type: "text" ,
text: forecastText ,
},
],
};
},
);
运行服务器 最后,实现主函数以运行服务器:
async function main () {
const transport = new StdioServerTransport ();
await server . connect ( transport );
console . error ( "天气 MCP 服务器正在 stdio 上运行" );
}
main (). catch (( error ) => {
console . error ( "main() 中的致命错误:" , error );
process . exit ( 1 );
});
确保运行 npm run build
来构建您的服务器!这是让您的服务器成功连接的关键步骤。
现在让我们在现有的 MCP 主机 Claude for Desktop 中测试您的服务器。
使用 Claude for Desktop 测试您的服务器 Claude for Desktop 尚未在 Linux 上可用。Linux 用户可以继续学习构建客户端 教程,以构建连接到我们刚刚构建的服务器的 MCP 客户端。
首先,确保您已安装 Claude for Desktop。您可以在此处安装最新版本。 如果您已经安装了 Claude for Desktop,请确保它已更新到最新版本。
我们需要为要使用的 MCP 服务器配置 Claude for Desktop。为此,请在文本编辑器中打开位于 ~/Library/Application Support/Claude/claude_desktop_config.json
的 Claude for Desktop 应用程序配置。如果文件不存在,请创建它。
例如,如果您安装了 VS Code :
code ~/Library/Application \ Support/Claude/claude_desktop_config.json
code $env:AppData\Claude\claude_desktop_config.json
然后,您将在 mcpServers
键中添加您的服务器。只有在至少正确配置了一个服务器时,MCP UI 元素才会出现在 Claude for Desktop 中。
在本例中,我们将添加我们的单个天气服务器,如下所示:
这告诉 Claude for Desktop:
有一个名为 “weather” 的 MCP 服务器
通过运行 node /ABSOLUTE/PATH/TO/PARENT/FOLDER/weather/build/index.js
来启动它
保存文件,然后重新启动 Claude for Desktop 。
这是一个基于 Spring AI MCP 自动配置和 Boot Starters 的快速入门演示。
要学习如何手动创建同步和异步 MCP 服务器,请参阅 Java SDK 服务器 文档。
让我们开始构建我们的天气服务器!
您可以在此处找到我们将构建的完整代码。
有关更多信息,请参阅 MCP 服务器 Boot Starter 参考文档。
有关手动 MCP 服务器实现,请参阅 MCP 服务器 Java SDK 文档 。
系统要求 设置您的环境 使用 Spring Initializr 引导项目。
您需要添加以下依赖项:
<dependencies>
<dependency>
<groupId>org.springframework.ai</groupId>
<artifactId>spring-ai-mcp-server-spring-boot-starter</artifactId>
</dependency>
<dependency>
<groupId>org.springframework</groupId>
<artifactId>spring-web</artifactId>
</dependency>
</dependencies>
<dependencies>
<dependency>
<groupId>org.springframework.ai</groupId>
<artifactId>spring-ai-mcp-server-spring-boot-starter</artifactId>
</dependency>
<dependency>
<groupId>org.springframework</groupId>
<artifactId>spring-web</artifactId>
</dependency>
</dependencies>
dependencies {
implementation platform("org.springframework.ai:spring-ai-mcp-server-spring-boot-starter")
implementation platform("org.springframework:spring-web")
}
然后通过设置应用程序属性来配置您的应用程序:
application.properties
application.yml
服务器配置属性 文档中列出了所有可用属性。
现在让我们深入构建您的服务器。
构建您的服务器 天气服务 让我们实现一个 WeatherService.java ,它使用 REST 客户端从国家气象局 API 查询数据:
@ Service
public class WeatherService {
private final RestClient restClient ;
public WeatherService () {
this . restClient = RestClient . builder ()
. baseUrl ( "https://api.weather.gov" )
. defaultHeader ( "Accept" , "application/geo+json" )
. defaultHeader ( "User-Agent" , "WeatherApiClient/1.0 (your@email.com)" )
. build ();
}
@ Tool ( description = "获取特定纬度/经度的天气预报" )
public String getWeatherForecastByLocation (
double latitude , // 纬度坐标
double longitude // 经度坐标
) {
// 返回详细预测,包括:
// - 温度和单位
// - 风速和方向
// - 详细预测描述
}
@ Tool ( description = "获取美国某个州的天气警报" )
public String getAlerts (
@ ToolParam ( description = "两个字母的美国州代码(例如 CA, NY" ) String state )
) {
// 返回活跃警报,包括:
// - 事件类型
// - 受影响区域
// - 严重程度
// - 描述
// - 安全说明
}
// ......
}
@Service
注解会自动将服务注册到您的应用程序上下文中。
Spring AI 的 @Tool
注解使得创建和维护 MCP 工具变得容易。
自动配置会自动将这些工具注册到 MCP 服务器。
创建您的 Boot 应用程序 @ SpringBootApplication
public class McpServerApplication {
public static void main ( String [] args ) {
SpringApplication . run ( McpServerApplication . class , args);
}
@ Bean
public ToolCallbackProvider weatherTools ( WeatherService weatherService ) {
return MethodToolCallbackProvider . builder (). toolObjects (weatherService). build ();
}
}
使用 MethodToolCallbackProvider
工具将 @Tools
转换为 MCP 服务器使用的可执行回调。
运行服务器 最后,让我们构建服务器:
这将在 target
文件夹中生成一个 mcp-weather-stdio-server-0.0.1-SNAPSHOT.jar
文件。
现在让我们在现有的 MCP 主机 Claude for Desktop 中测试您的服务器。
使用 Claude for Desktop 测试您的服务器 Claude for Desktop 尚未在 Linux 上可用。
首先,确保您已安装 Claude for Desktop。
您可以在此处安装最新版本。 如果您已经安装了 Claude for Desktop,请确保它已更新到最新版本。
我们需要为要使用的 MCP 服务器配置 Claude for Desktop。
为此,请在文本编辑器中打开位于 ~/Library/Application Support/Claude/claude_desktop_config.json
的 Claude for Desktop 应用程序配置。
如果文件不存在,请创建它。
例如,如果您安装了 VS Code :
code ~/Library/Application \ Support/Claude/claude_desktop_config.json
code $env:AppData\Claude\claude_desktop_config.json
然后,您将在 mcpServers
键中添加您的服务器。
只有在至少正确配置了一个服务器时,MCP UI 元素才会出现在 Claude for Desktop 中。
在本例中,我们将添加我们的单个天气服务器,如下所示:
{
"mcpServers" : {
"spring-ai-mcp-weather" : {
"command" : "java" ,
"args" : [
"-Dspring.ai.mcp.server.stdio=true" ,
"-jar" ,
"/ABSOLUTE/PATH/TO/PARENT/FOLDER/mcp-weather-stdio-server-0.0.1-SNAPSHOT.jar"
]
}
}
}
{
"mcpServers" : {
"spring-ai-mcp-weather" : {
"command" : "java" ,
"args" : [
"-Dspring.ai.mcp.server.stdio=true" ,
"-jar" ,
"/ABSOLUTE/PATH/TO/PARENT/FOLDER/mcp-weather-stdio-server-0.0.1-SNAPSHOT.jar"
]
}
}
}
{
"mcpServers" : {
"spring-ai-mcp-weather" : {
"command" : "java" ,
"args" : [
"-Dspring.ai.mcp.server.transport=STDIO" ,
"-jar" ,
"C: \\ ABSOLUTE \\ PATH \\ TO \\ PARENT \\ FOLDER \\ weather \\ mcp-weather-stdio-server-0.0.1-SNAPSHOT.jar"
]
}
}
}
这告诉 Claude for Desktop:
有一个名为 “my-weather-server” 的 MCP 服务器
通过运行 java -jar /ABSOLUTE/PATH/TO/PARENT/FOLDER/mcp-weather-stdio-server-0.0.1-SNAPSHOT.jar
来启动它
保存文件,然后重新启动 Claude for Desktop 。
使用 Java 客户端测试您的服务器 手动创建 MCP 客户端 使用 McpClient
连接到服务器:
var stdioParams = ServerParameters . builder ( "java" )
. args ( "-jar" , "/ABSOLUTE/PATH/TO/PARENT/FOLDER/mcp-weather-stdio-server-0.0.1-SNAPSHOT.jar" )
. build ();
var stdioTransport = new StdioClientTransport (stdioParams);
var mcpClient = McpClient . sync (stdioTransport). build ();
mcpClient . initialize ();
ListToolsResult toolsList = mcpClient . listTools ();
CallToolResult weather = mcpClient . callTool (
new CallToolRequest ( "getWeatherForecastByLocation" ,
Map . of ( "latitude" , "47.6062" , "longitude" , "-122.3321" )));
CallToolResult alert = mcpClient . callTool (
new CallToolRequest ( "getAlerts" , Map . of ( "state" , "NY" )));
mcpClient . closeGracefully ();
使用 MCP 客户端 Boot Starter 使用 spring-ai-mcp-client-spring-boot-starter
依赖项创建一个新的 Boot Starter 应用程序:
<dependency>
<groupId>org.springframework.ai</groupId>
<artifactId>spring-ai-mcp-client-spring-boot-starter</artifactId>
</dependency>
并将 spring.ai.mcp.client.stdio.servers-configuration
属性指向您的 claude_desktop_config.json
。
您可以重用现有的 Anthropic 桌面配置:
spring.ai.mcp.client.stdio.servers-configuration=file:PATH/TO/claude_desktop_config.json
当您启动客户端应用程序时,自动配置将从 claude_desktop_config.json
自动创建 MCP 客户端。
有关更多信息,请参阅 MCP 客户端 Boot Starters 参考文档。
更多 Java MCP 服务器示例 starter-webflux-server 演示了如何使用 SSE 传输创建 MCP 服务器。
它展示了如何使用 Spring Boot 的自动配置功能定义和注册 MCP 工具、资源和提示。